Pita Bread Using Homemade Bread Starter
Hey everyone, it is John, welcome to my recipe site. Today, we're going to prepare a distinctive dish, Pita Bread Using Homemade Bread Starter. One of my favorites. For mine, I am going to make it a little bit unique. This will be really delicious.
Pita Bread Using Homemade Bread Starter is one of the most favored of current trending meals on earth. It is appreciated by millions every day. It's easy, it is fast, it tastes delicious. Pita Bread Using Homemade Bread Starter is something which I've loved my entire life. They are fine and they look fantastic.
Many things affect the quality of taste from Pita Bread Using Homemade Bread Starter, starting from the type of ingredients, then the selection of fresh ingredients, the ability to cut dishes to how to make and serve them. Don't worry if you want to prepare Pita Bread Using Homemade Bread Starter delicious at home, because if you already know the trick then this dish can be used as an extraordinary special treat.
As for the number of servings that can be served to make Pita Bread Using Homemade Bread Starter is 8 servings. So make sure this portion is enough to serve for yourself and your beloved family.
To get started with this particular recipe, we have to prepare a few ingredients. You can cook Pita Bread Using Homemade Bread Starter using 6 ingredients and 10 steps. Here is how you cook that.
I challenged myself to create a recipe for pita bread using my homemade raisin bread starter.
Be patient rolling out the dough, letting it rise evenly.
If the dough doesn't rise properly, open it up with a knife. Recipe by yukina007
Ingredients and spices that need to be Make ready to make Pita Bread Using Homemade Bread Starter:
- 100 grams Bread starter
- 250 grams Strong bread flour
- 1 and 1/2 tablespoons Olive oil
- 1 tbsp Honey (or molasses or sugar)
- 1 tsp Salt
- 130 ml Water
Steps to make to make Pita Bread Using Homemade Bread Starter
- In a bowl, add all the ingredients, expect the water. The amount of water you will need to put in will depend on the weather, so put in as much as necessary

- Slowly sprinkle on water until the ingredients clump together.
- Wait for it to double in size. (This took 5-6 hours even in Kobe city's June heat).

- Deflate and divide into 8 balls. Cover with plastic wrap to prevent drying. Let rise for 5 minutes.

- Roll out the dough from the center to the edge. Don't try to do it all at once, gently work the dough out repeatedly (this is the secret to a good rise). Stretch to your desired thickness, but remember that if you leave it too thick the pitas will be small and fillings won't fit in.

- Flip over and place on a baking tray.
- Bake in a preheated 220°C oven for 8 minutes. (Adjust the time and heat according to your oven and desired browning.)

- Cool on a rack. Store the extras in the fridge.

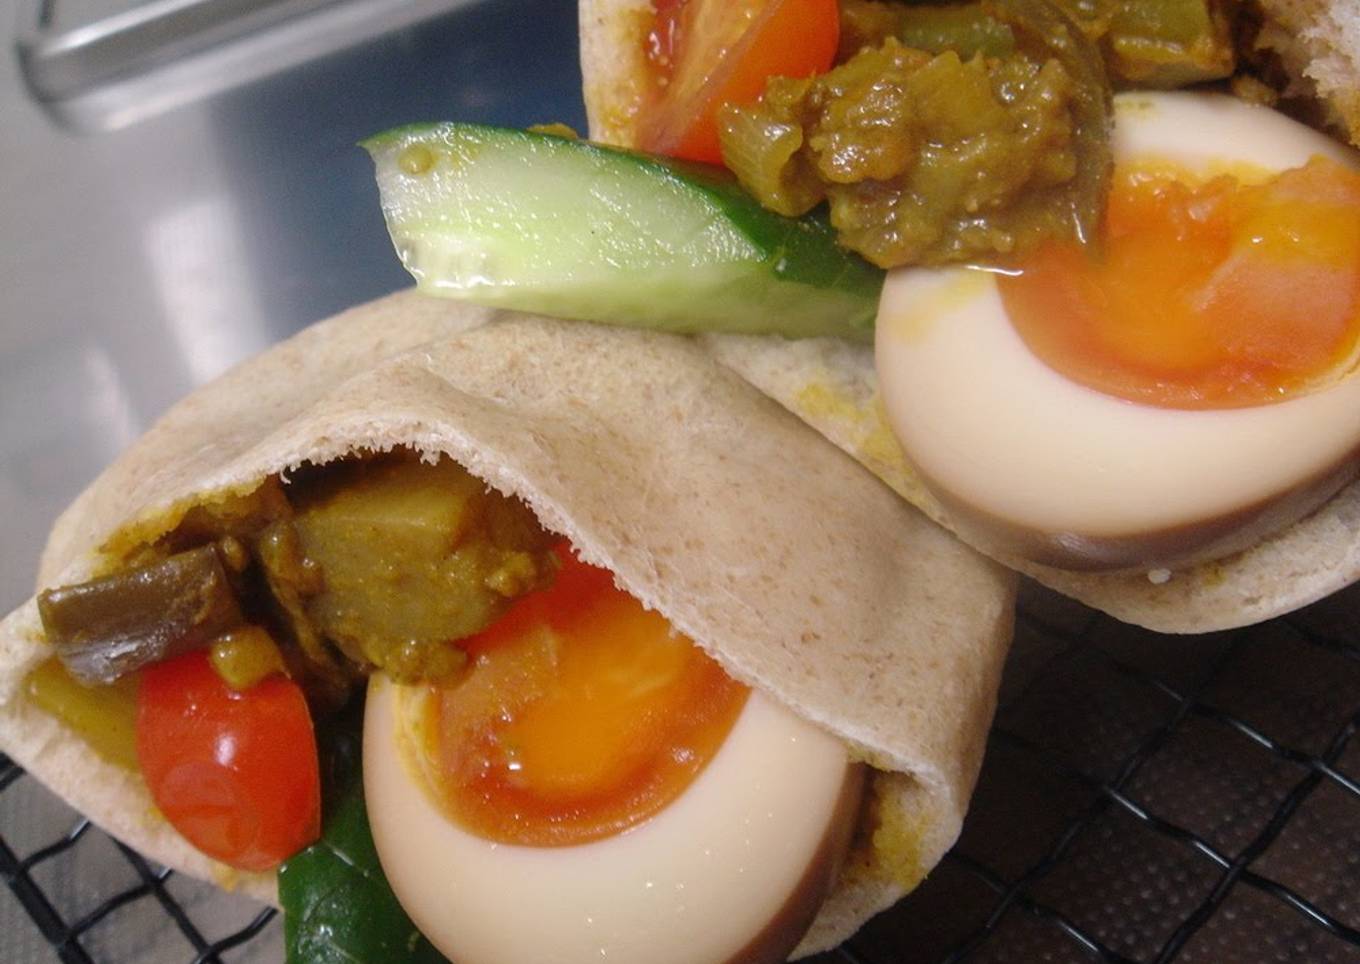
- Serve with dry curry.

- or in your bento.

As your experience as well as confidence expands, you will locate that you have a lot more all-natural control over your diet as well as adapt your diet to your personal preferences with time. Whether you wish to offer a recipe that utilizes fewer or even more ingredients or is a little bit essentially zesty, you can make basic adjustments to accomplish this goal. In other words, start making your dishes on schedule. As for standard food preparation skills for novices you don't need to learn them yet only if you grasp some straightforward cooking techniques.
This isn't a total guide to quick and also easy lunch dishes yet its good something to chew on. Hopefully this will certainly obtain your imaginative juices flowing so you can prepare tasty meals for your family without doing a lot of heavy meals on your trip.
So that is going to wrap this up with this special food Step-by-Step Guide to Make Homemade Pita Bread Using Homemade Bread Starter. Thanks so much for reading. I'm confident you can make this at home. There's gonna be interesting food in home recipes coming up. Don't forget to bookmark this page in your browser, and share it to your loved ones, colleague and friends. Thank you for reading. Go on get cooking!


Comments
Post a Comment